前言#
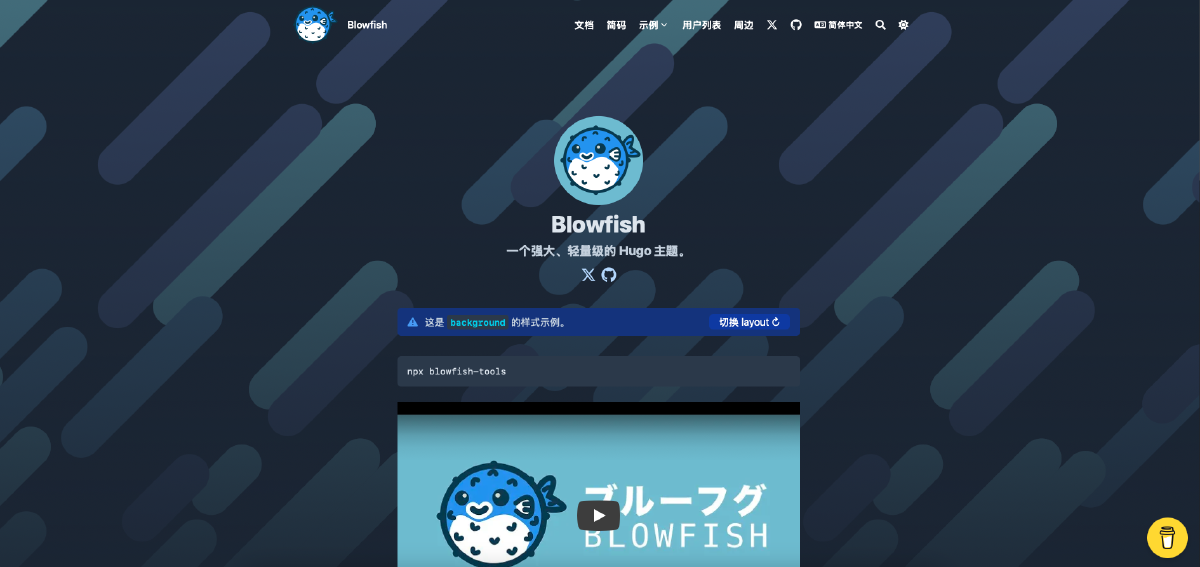
本文记录本站的完整搭建过程:使用 Hugo 作为静态站点生成器,搭配 Blowfish 主题,最终托管在 GitHub Pages 上,并借助 GitHub Actions 实现「推送即发布」的自动化部署。
整体技术栈如下:
- Hugo:基于 Go 的静态站点生成器,构建速度快。
- Blowfish:功能丰富、可高度自定义的 Hugo 主题。
- GitHub Pages:免费的静态网页托管服务。
- GitHub Actions:自动构建并部署站点的 CI 工具。
环境准备#
安装 Go#
Hugo 本身基于 Go 开发。若使用 go install 方式安装 Hugo,需要先配置好 Go 环境。
可前往 Go 官网 下载安装,安装后验证:
go version安装 Hugo#
在已有 Go 环境的前提下,直接通过 go install 安装指定版本的 Hugo:
go install github.com/gohugoio/hugo@v0.151.0注意:Blowfish 主题依赖 Hugo 的 extended 版本(支持 SCSS 编译)。 若使用包管理器安装,请确认安装的是 extended 版本。
安装完成后验证版本:
hugo version创建站点#
在工作目录下新建一个 Hugo 站点:
hugo new site muzimu
cd muzimu
git init
安装 Blowfish 主题#
Blowfish 推荐使用 Git Submodule 的方式引入主题,便于后续更新。
引入主题#
git submodule add -b main https://github.com/nunocoracao/blowfish.git themes/blowfish执行后会在项目根目录生成 .gitmodules 文件,内容类似:
[submodule "themes/blowfish"]
  path = themes/blowfish
  url = git@github.com:nunocoracao/blowfish.git
branch = main更新主题#
后续需要升级主题版本时,执行:
git submodule update --remote --merge克隆仓库后初始化子模块#
在新机器上克隆本仓库后,需要同步并拉取子模块内容:
git submodule sync
git submodule update --init --remote配置站点#
Blowfish 的配置文件位于 config/_default/ 目录下,按职责拆分为多个文件,
而非集中在单一的 hugo.toml 中。核心文件如下:
| 文件 | 作用 |
|---|---|
hugo.toml | 站点基础配置(主题、baseURL、语言、分类法等) |
params.toml | 主题参数(外观、布局、功能开关等) |
languages.zh-cn.toml | 中文语言及作者信息 |
languages.en.toml | 英文语言配置 |
menus.zh-cn.toml | 中文导航菜单 |
markup.toml | Markdown 渲染与代码高亮设置 |
基础配置#
hugo.toml 中需指定主题与站点地址:
theme = "blowfish"
baseURL = "https://muzimu.github.io/"
defaultContentLanguage = "zh-cn"

enableRobotsTXT = true
enableEmoji = true

[taxonomies]
  tag = "tags"
  category = "categories"
  author = "authors"
series = "series"作者信息#
在 languages.zh-cn.toml 中配置作者头像、昵称与社交链接:
[params.author]
  name = "muzimu"
  image = "img/avatar.jpg"
  headline = "木子木"
  links = [
    { github = "https://github.com/muzimu" },
    { bilibili = "https://space.bilibili.com/448045568" },
  ]
更多主题参数说明可参考 Blowfish 官方文档: https://blowfish.page/zh-cn/docs/configuration/#theme-parameters
创建文章#
使用 hugo new 基于 archetype 模板创建文章。本站采用「页面包」(Page Bundle)
组织方式,每篇文章独占一个目录,便于管理配图等资源:
hugo new content content/posts/Hugo/index.md文章顶部的 Front Matter 示例(YAML 格式):
---
title: "文章标题"
summary: "文章摘要"
isCJKLanguage: true
date: 2025-09-06T17:42:06+08:00
tags:
  - 标签
---
设置
isCJKLanguage: true可让 Hugo 正确统计中文字数与阅读时长。
本地预览#
启动本地开发服务器,默认地址为 http://localhost:1313/:
hugo server若文章仍处于草稿状态(draft: true),需加上 -D 参数才会被渲染:
hugo server -D部署到 GitHub Pages#
准备仓库#
需要两个仓库:
- 源码仓库:存放 Hugo 工程源码(如
muzimu/muzimu)。 - 发布仓库:存放构建产物,即 GitHub Pages 站点(如
muzimu/muzimu.github.io)。
配置自动部署#
在源码仓库根目录创建 .github/workflows/hugo.yaml,每次向 main 分支推送时,
GitHub Actions 会自动构建并将 public/ 目录发布到目标仓库:
name: github pages

on:
  push:
    branches:
      - main

jobs:
  deploy:
    runs-on: ubuntu-latest
    steps:
      - uses: actions/checkout@v2
        with:
          submodules: true       # 拉取 Blowfish 主题子模块
          fetch-depth: 0         # 获取完整历史,供 .GitInfo / .Lastmod 使用

      - name: Setup Hugo
        uses: peaceiris/actions-hugo@v2
        with:
          hugo-version: 'latest'
          extended: true         # 使用 extended 版本

      - name: Build
        run: hugo --minify       # 构建并压缩静态资源

      - name: Deploy
        uses: peaceiris/actions-gh-pages@v3
        with:
          external_repository: muzimu/muzimu.github.io
          personal_token: ${{ secrets.PERSONAL_TOKEN }}
          publish_dir: ./public
publish_branch: main配置访问令牌#
由于要发布到另一个仓库,不能使用默认的 GITHUB_TOKEN,需要:
- 在 GitHub Personal Access Tokens
页面生成一个具有
repo权限的令牌。 - 在源码仓库的 Settings → Secrets and variables → Actions 中,
新增一个名为
PERSONAL_TOKEN的 Secret,值为上一步生成的令牌。
安全提示:令牌等同于账号密码,切勿直接明文写入工作流文件并提交, 否则会被 GitHub 自动吊销且存在泄露风险,务必通过 Secrets 引用。
启用 Pages 并访问#
推送代码后,等待 Actions 构建完成,在发布仓库的 Settings → Pages
中确认发布分支,随后即可通过 https://<用户名>.github.io/ 访问站点。
小结#
至此,一个基于 Hugo + Blowfish 的个人博客就搭建完成了。日常写作只需新建文章、
本地预览确认效果,再 git push 即可自动发布,整个流程清爽高效。